Key Points
- Use path, accent, architectural, and gathering-area lighting for different purposes instead of repeating one fixture everywhere.
- Main Line properties often benefit from lighting that works with brick, stone, mature trees, formal approaches, patios, pergolas, and outdoor rooms.
- A successful plan controls glare and light trespass while coordinating fixtures, wiring, controls, plant growth, hardscape, and the way the property looks from inside the home.
At sunset, a well-designed Main Line property should not look like a brightly lit parking lot. It should reveal the front walk, give steps and changes in grade enough visibility, bring out the texture of masonry, and make a patio or garden feel comfortable without overwhelming the night.
That balance is harder to achieve than simply placing lights along a walkway. Landscape lighting is both a technical system and a design layer. The best landscape lighting ideas begin with how you want to experience the property after dark, then work backward to fixture type, placement, brightness, controls, and installation.
This guide focuses on inspiration for outdoor lighting design, patio lighting ideas, and landscape lighting design in the Main Line area. It is intentionally separate from Kelly Masonry’s existing landscape lighting cost and installation guide, which covers service, installation, process, and budgeting factors.
Start With the Nighttime Experience You Want to Create
Before comparing fixtures, decide what you want to see and how you want the property to feel. A front entry may need a clear arrival sequence. A back patio may need enough light for plates and steps while keeping the main seating area calm. A mature tree may deserve one carefully aimed accent instead of several bright fixtures pointed into its canopy.
Walk the property at night with a notepad. Notice where the route becomes unclear, where a step disappears, where a beautiful wall loses its texture, and where the windows look out onto a completely dark yard. Also notice where existing lights create glare or shine toward a neighbor’s property.
A practical design brief can be organized around six nighttime experiences:
| Experience | Design question | Common lighting response |
|---|---|---|
| Arrival | What should visitors notice between the street, driveway, walk, and front door? | Restrained path, entry, and architectural lighting |
| Movement | Which steps, turns, grade changes, or transitions need more visibility? | Step, path, low-level, or handrail-related lighting where appropriate |
| Architecture | Which brick, stone, columns, walls, or rooflines deserve emphasis? | Grazing, wall washing, or carefully aimed accent lighting |
| Landscape | Which trees, beds, water features, or specimen plants have nighttime form? | Selective uplighting or downlighting with controlled glare |
| Outdoor living | How will the patio, pergola, kitchen, and seating areas be used? | Layered task, accent, and low-level ambient lighting |
| Indoor view | What will the property look like from the kitchen, living room, or bedroom? | A balanced composition that avoids bright points of glare in the glass |
This approach prevents a common mistake: designing only from the street. A landscape may look attractive from the curb but feel uncomfortable from the patio or appear as a collection of bright dots from inside the house.
Seven Landscape Lighting Ideas for Main Line Homes
1. Frame the Front Walk Without Creating a Runway
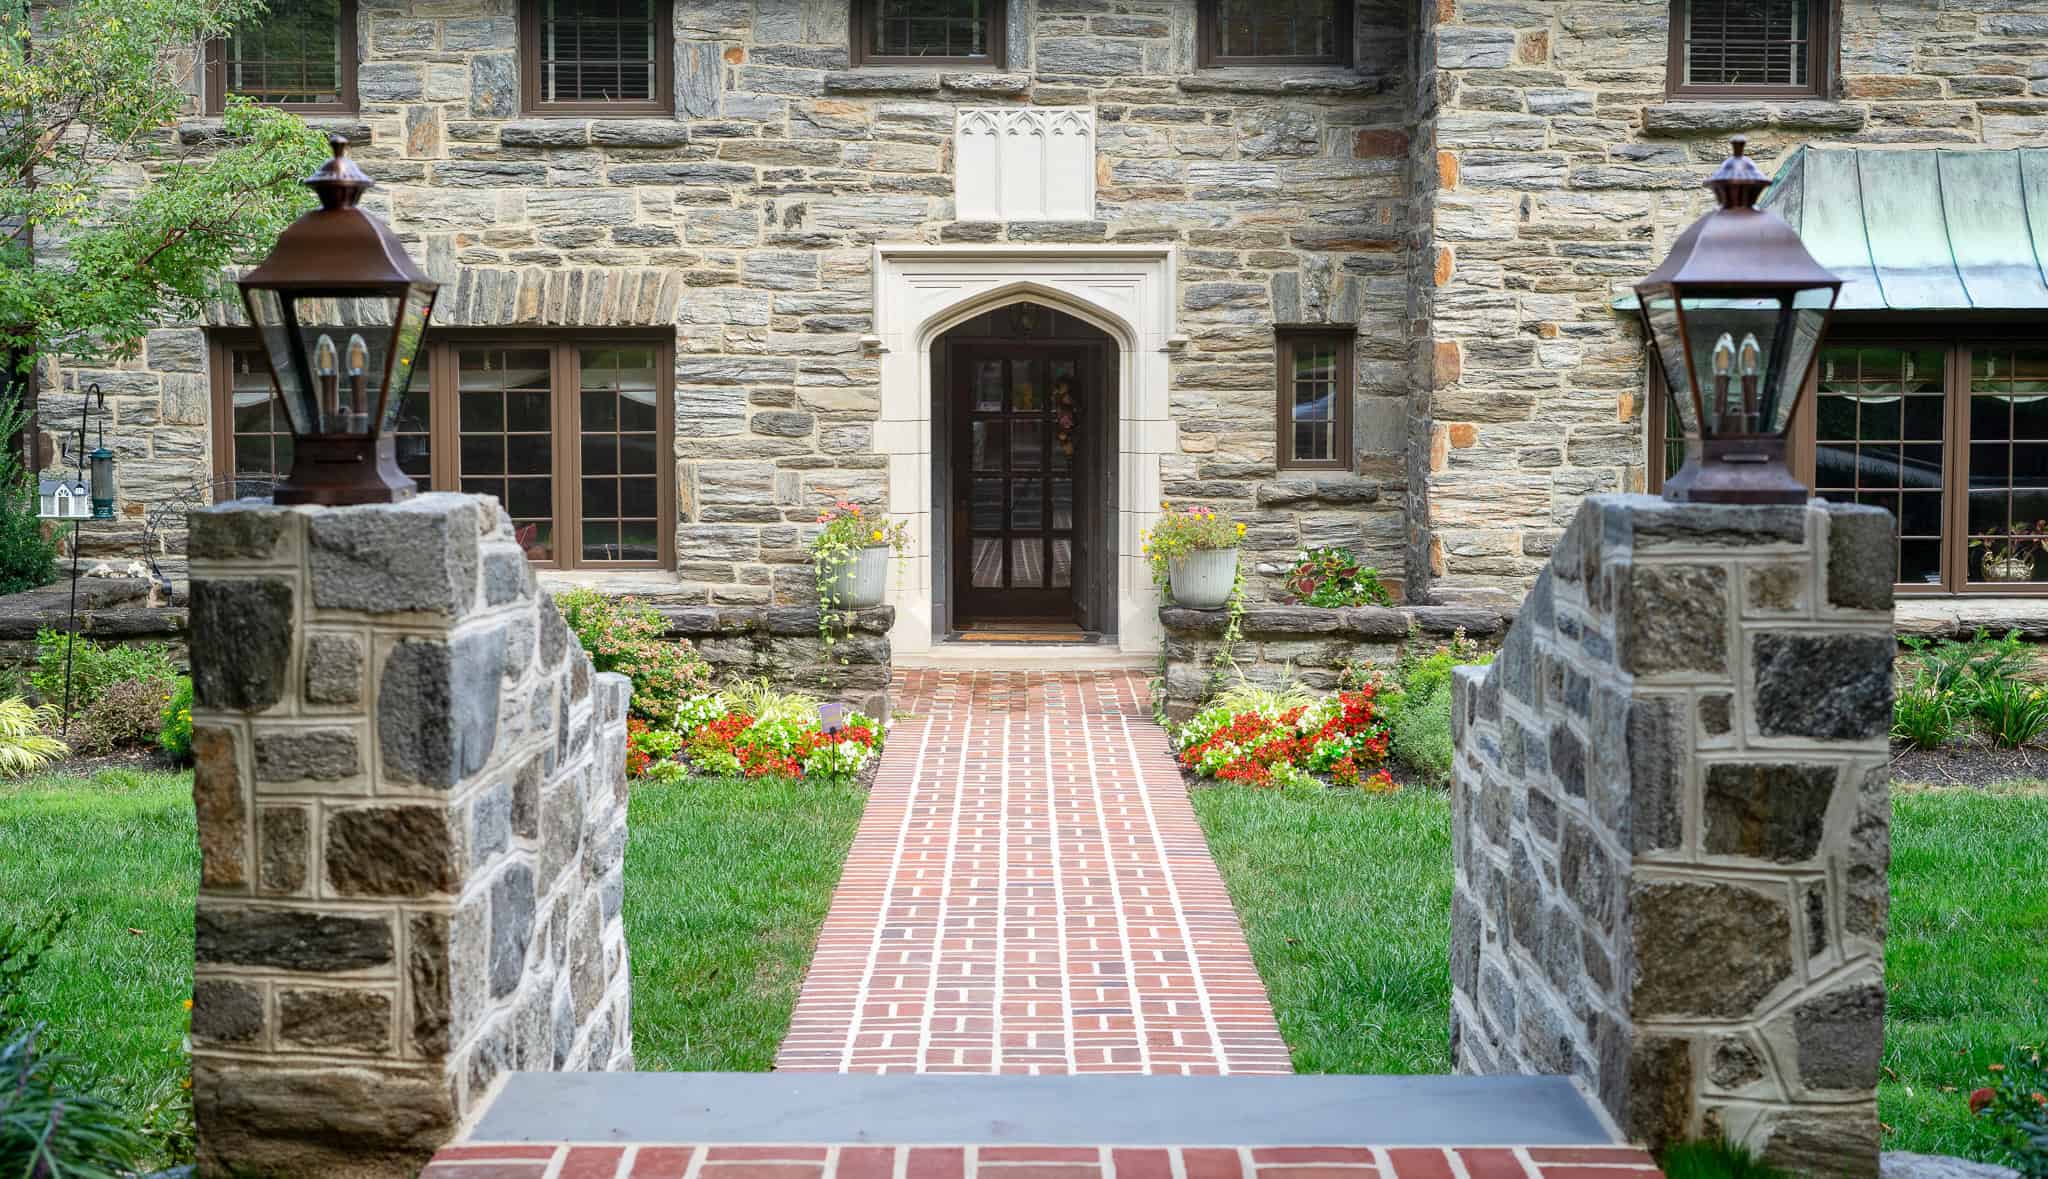
Path lighting can clarify the route to the front door, but identical fixtures placed at regular intervals can make the approach feel mechanical. A more natural composition responds to the walk’s turns, planting beds, steps, walls, and arrival points.
Use enough light to make the route legible, then allow planting and architecture to remain part of the scene. If the path already has a strong edge, lighting does not need to trace every inch of it. Consider where people actually walk, where the surface changes, and where a guest needs to understand the next step.
For a Main Line property with a long approach, the front walk can become a sequence rather than one continuous strip of brightness. A lower level near the street, a modest emphasis at a turn, and a warmer entry moment near the door can create depth without making the entire route equally bright.
2. Graze Brick, Stone, and Retaining Walls
Masonry is one of the most rewarding surfaces to light because its texture changes as the light moves across it. Brick joints, natural-stone faces, caps, steps, and retaining walls can become visible after dark without requiring a large number of fixtures.
Grazing places light close enough to a textured surface that the irregularities create shadow and depth. Wall washing is broader and more even. The right approach depends on the material, wall height, viewing distance, fixture location, and the visual effect you want.
The key is restraint. A light aimed directly at a wall can flatten the surface if it is too broad or too intense. A light placed where people see the source instead of the illuminated masonry can create glare. Coordinate masonry lighting with the wall’s construction, nearby planting, steps, and the view from the main windows.
If a patio or retaining wall is part of a larger renovation, connect the lighting conversation to the hardscape plan. Kelly Masonry’s outdoor living space planning guide explains why furniture, circulation, steps, walls, and activity zones should be considered together rather than treated as separate additions.
3. Uplight Mature Trees Selectively
Mature trees often provide the strongest nighttime silhouettes on a Main Line property. Uplighting can reveal a trunk, branching pattern, or portion of the canopy, but lighting every tree equally can make the yard look busy and can direct unwanted brightness toward windows.
Choose trees based on form and location. A tree near the arrival walk may reinforce the entry. A tree beside a patio may create a vertical backdrop. A specimen tree visible from the living room may deserve a low-key accent that becomes part of the evening view.
Aim the light at the feature, not at the viewer. Shielded or carefully positioned fixtures can help reduce glare. Also plan for growth. Branches, shrubs, and groundcovers change over time, so a lighting layout needs reasonable access for adjustment and maintenance.
4. Layer Patio Lighting for Dining and Conversation
A patio needs more than one lighting mood. People may need practical visibility while carrying food, using steps, or serving a meal. They may also want a softer environment for conversation after dinner.
Useful patio lighting ideas include low-level step lighting, under-counter or task lighting near an outdoor kitchen, selective wall or planter accents, and separate controls for different areas. The goal is to let the homeowner use only the layer needed for the moment rather than turning on every fixture at full brightness.
Avoid placing bright fixtures directly in the sightline of people seated at the table. Guests should see the people across from them, not the light source in their eyes. For a patio with a fire feature, the lighting should support circulation and seating without competing with the flame. Kelly Masonry’s guide to fire pits versus outdoor fireplaces can help homeowners think through how a fire feature affects the surrounding outdoor room.
5. Make a Pergola or Covered Patio Usable After Sunset
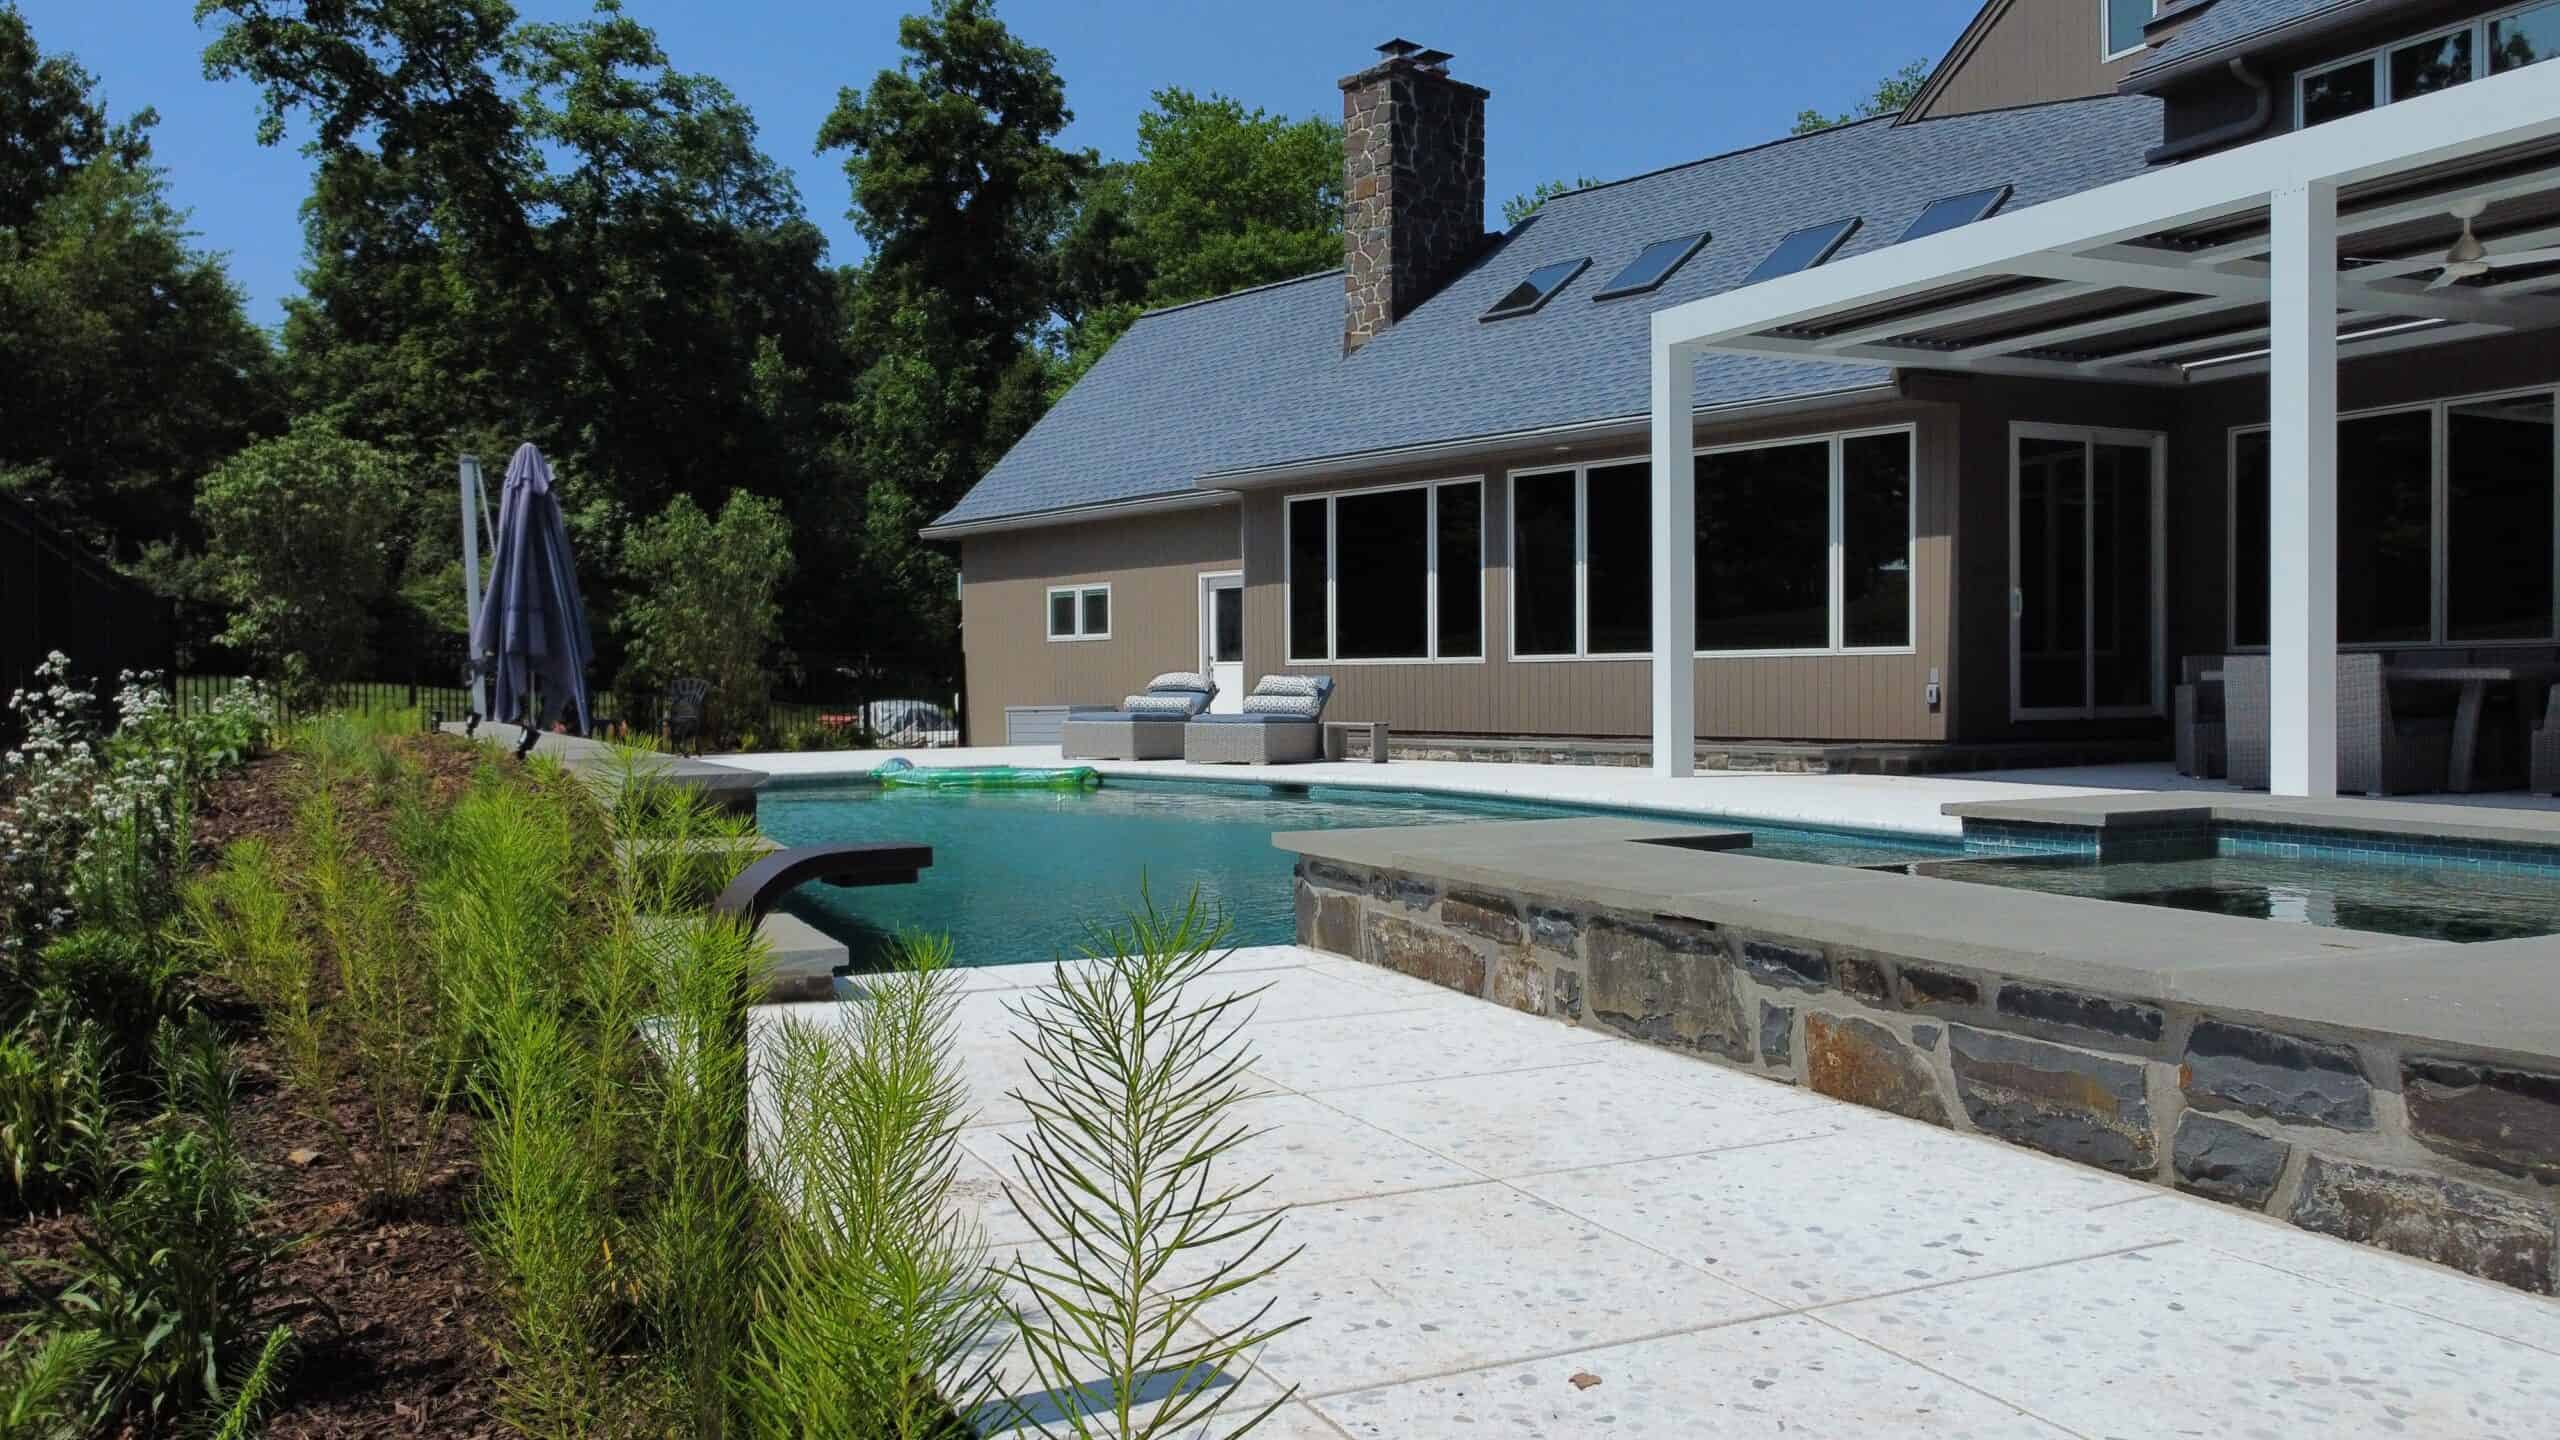
A pergola can define an outdoor room, but its posts and roof structure also create opportunities for thoughtful lighting. Small, concealed, or downward-directed fixtures can support dining and movement without turning the structure into a glowing box.
Lighting should be coordinated with the pergola’s post locations, furniture, ceiling or rafters, plantings, and any grill or cooking appliance below. Do not add lighting to a covered cooking area without reviewing the appliance requirements, installation instructions, and applicable electrical and building conditions.
For homeowners considering a larger covered outdoor room, Kelly Masonry’s pergola services are a related resource. The lighting plan should be developed with the structure rather than added after the posts, roof, and hardscape are complete.
6. Connect the Outdoor Kitchen to the Rest of the Property
An outdoor kitchen is easier to use when the route between cooking, dining, seating, and the house remains clear after dark. That does not mean the entire patio needs uniform illumination. It means the important transitions should be understandable.
Consider lighting at the route from the back door to the kitchen, between the kitchen and dining table, near steps or grade changes, and at the place where guests move toward the yard. Separate task lighting may be useful at the grill or preparation surface, while the seating area may need a softer layer.
The lighting should support the kitchen’s workflow rather than distract from it. Kelly Masonry’s custom outdoor kitchen design and construction page is a useful companion for homeowners planning appliances, counters, storage, patios, and entertaining areas together.
7. Use Focal-Point Lighting Sparingly
A focal point might be a specimen tree, sculpture, fountain, brick chimney, stone wall, stair, or distinctive planting bed. Highlighting one or two features can give the eye somewhere to rest and can make a small lighting system feel more intentional.
The temptation is to light every attractive object. Resist it. When everything is emphasized, nothing has hierarchy. A strong plan usually includes quiet areas that separate the illuminated features and preserve the sense of a nighttime landscape.
Combine Fixture Types Instead of Using One Fixture Everywhere
Different fixtures solve different design problems. A path light is not a substitute for a step light, and an uplight aimed at a tree is not the right tool for illuminating a dining surface.
| Fixture approach | Best use | Design caution |
|---|---|---|
| Path lighting | Clarifying walks, transitions, and selected edges | Avoid a repetitive runway effect and protect the light source from direct view |
| Uplighting | Revealing tree trunks, branching structure, columns, and vertical features | Use selectively and aim carefully to limit glare and unwanted light into windows |
| Downlighting | Creating a natural-looking pool of light from a tree, structure, or elevated location | Fixture placement, maintenance access, and shadows require careful planning |
| Grazing | Bringing out texture in brick, stone, walls, and masonry details | The distance and angle determine whether texture is enhanced or flattened |
| Wall washing | Creating broader illumination across a wall or architectural surface | Too much uniform light can erase depth and make the surface look flat |
| Step lighting | Helping people read changes in elevation and move through the space | Coordinate with step construction, handrails, sightlines, and glare control |
| Under-counter or task lighting | Supporting food preparation, serving, and practical work at an outdoor kitchen | Keep the source concealed where possible and separate task controls from ambiance |
| Low-level accent lighting | Highlighting planting, seating edges, planters, and small features | Use fewer deliberate accents rather than filling every bed with fixtures |
The final design should also consider how fixtures are grouped and controlled. A path route, front entry, patio, kitchen, and garden may not need to operate on the same schedule or brightness level.
Use Responsible Outdoor Lighting Principles
Good landscape lighting is not simply a matter of adding more visibility. It should be useful where people need it, targeted toward the intended surface, low enough to remain comfortable, and controlled so it is not operating unnecessarily.
DarkSky International’s Five Principles for Responsible Outdoor Lighting describe outdoor light as useful, targeted, low-level, controlled, and warm-colored. The organization also identifies glare, light trespass, and skyglow as concerns associated with poorly controlled artificial light.
For a homeowner, those principles translate into practical decisions:
| Principle | What it means in a residential design |
|---|---|
| Useful | Light a route, task, feature, or gathering area because it serves a purpose |
| Targeted | Direct light toward the path, wall, tree, or surface instead of into eyes or neighboring property |
| Low-level | Use the least intensity that accomplishes the design goal |
| Controlled | Use timers, zones, sensors, or switches so lights operate when and where they are needed |
| Warm-colored | Consider warmer light where it supports comfort and the appearance of masonry and planting |
DarkSky’s luminaire guidance also emphasizes reducing glare and light trespass and generally favors warmer-color light where appropriate. These are design principles, not a claim that a Kelly Masonry installation or any specific product is DarkSky Approved.
Color temperature should not be selected from a universal rule. Review the fixture, the home’s exterior materials, the surrounding planting, the intended mood, the manufacturer’s specifications, and the way the light looks at night before finalizing a system.
Patio Lighting Ideas for Dining, Steps, and Entertaining
Patio lighting should respond to the way the patio is actually used. A dining area has different needs from a lounge area. A step to a lower garden has a different requirement from a decorative retaining wall. A cooking area needs practical visibility, while a fire feature or conversation area may benefit from lower ambient light.
Start with a scaled layout that shows furniture, open doors, steps, walls, railings, planters, the kitchen, and the routes between them. Kelly Masonry’s outdoor-living space guide recommends considering occupied furniture, appliance doors, preparation space, walking routes, drainage, utilities, and transitions when planning an outdoor area.
Then review the patio from several viewpoints. Sit in the usual dining chair and look toward the house. Stand at the back door and look toward the seating area. Walk toward the steps. Look at the patio from the kitchen window. These viewpoints reveal glare and dark gaps that may not appear on a daytime plan.
For entertaining, separate practical lighting from mood lighting. A hidden task light near the grill can be useful while cooking. A soft accent on a wall or planting bed can support conversation. A path light may help guests find the way to the yard. Separate control zones let the homeowner choose the right combination instead of using everything at once.
Outdoor Lighting Design for Main Line Architecture and Landscape
The Main Line is not one uniform style. Properties may include older brick homes, stone facades, formal entries, mature canopy, newer additions, sloped lots, narrow side yards, patios, and carefully established plantings. The lighting plan should respond to the individual property rather than impose a standard fixture pattern.
For brick, pay attention to joint lines, arches, chimneys, porch columns, and changes in plane. For stone, look at the size and irregularity of the pieces, the cap, the wall height, and the way shadow reveals texture. For formal planting, use lighting to support the structure of the landscape rather than making every shrub equally visible.
Older properties may also require careful attention to the relationship between new lighting and existing hardscape. Wiring, transformer location, access, drainage, steps, and future planting should be coordinated before disturbing a finished walkway or patio. If a landscape renovation includes masonry, patios, or walls, lighting is easier to integrate when it is planned as part of the overall design.
A lighting plan should also respect what the property looks like from inside the home. A bright fixture near a window can be more noticeable than the feature it was meant to illuminate. In many cases, the most successful composition is the one that reveals the landscape while allowing the glass, views, and surrounding night to remain comfortable.
Landscape Lighting Design Mistakes That Make a Property Look Harsh
The most common problem is overlighting. Homeowners often begin with a list of everything they want to see, then discover that the final result has too many competing highlights. A better process chooses priorities and protects areas of darkness between them.
| Mistake | Why it causes trouble | Better approach |
|---|---|---|
| Lighting every path edge | Creates visual repetition and unnecessary brightness | Light decision points, steps, turns, and key routes with hierarchy |
| Leaving the light source exposed | Creates glare and makes the fixture more noticeable than the feature | Use shielding, aiming, concealment, or lower placement where appropriate |
| Uplighting every tree | Makes the landscape busy and can send light toward windows | Select trees for form, location, and nighttime importance |
| Ignoring interior viewpoints | Bright points may reflect in windows or disrupt rooms after dark | Review the design from the kitchen, living room, and bedroom windows |
| Using one brightness level everywhere | Removes depth and makes tasks, accents, and scenery compete | Use layers and separate zones for different uses |
| Installing before hardscape is planned | Wiring and fixtures may conflict with patios, steps, walls, or drainage | Coordinate lighting with the hardscape and landscape plan |
| Forgetting future plant growth | Shrubs and branches can hide fixtures or change the light pattern | Provide access for adjustment and plan for mature plant size |
| Treating security as a reason to floodlight the property | Bright, uncontrolled light can create glare and reduce comfort | Address visibility with targeted, controlled lighting and appropriate security planning |
A professional design does not eliminate every dark area. It decides which areas should be dark, which should be legible, and which deserve emphasis.
How Landscape Lighting Scope Affects the Investment
The cost of a landscape lighting project depends on the design and the site, not only on the number of fixtures. A small property can require substantial planning if wiring access is difficult, hardscape must be opened, or the lighting needs to coordinate with several architectural and landscape elements.
Typical scope drivers include the number and type of fixtures, wiring distance, transformer and control requirements, access to the property, existing patio or walkway conditions, masonry or hardscape work, mature trees, pools, pergolas, outdoor kitchens, steps, retaining walls, and the number of lighting zones.
Kelly Masonry’s existing landscape lighting cost guide explains its design and installation process and identifies examples such as path lights, accent lighting, walkway lights, focal-point lighting, pool-perimeter lighting, pergola lighting, and deck lighting. Use that page for the company’s current project-planning information, then request a site-specific consultation rather than relying on a generic online estimate.
A Main Line Landscape Lighting Planning Checklist
Before a consultation, walk through the property and make notes about the following questions:
| Planning question | Why it matters |
|---|---|
| What should visitors notice first? | Establishes the arrival sequence and visual hierarchy |
| Which routes need practical visibility? | Identifies walks, steps, turns, and grade changes that need attention |
| Which architectural features deserve emphasis? | Connects the lighting to brick, stone, walls, entries, and columns |
| Which trees or plantings have nighttime form? | Prevents the plan from lighting every plant equally |
| Where will people dine, cook, sit, and move? | Helps separate task lighting from ambient and accent lighting |
| What should remain quiet or dark? | Preserves contrast and reduces unnecessary light |
| How does the property look from inside? | Reveals reflections, glare, and bright points near windows |
| How will the system be controlled? | Helps organize schedules, zones, sensors, and manual overrides |
| What future work is planned? | Coordinates lighting with patios, walls, pergolas, kitchens, planting, and drainage |
Bring photographs from both daytime and nighttime if possible. Note the age and material of the walkways, walls, and patios, along with any areas where water collects or access is limited. These details can affect design and installation planning.
Plan the Lighting Before the Hardscape Is Finished
Landscape lighting is easiest to coordinate before a new patio, walkway, step, wall, pergola, or outdoor kitchen is complete. The design can account for conduit or wiring routes, transformer location, fixture access, drainage, planting, finished grades, and the way the hardscape will be used.
That does not mean an existing property cannot be improved. It means the installation approach may need to respond to the finished conditions. Kelly Masonry’s design and construction process begins with consultation and, where applicable, a design phase before construction. That type of early conversation can help homeowners decide whether lighting belongs in a larger outdoor-living plan or should be treated as a focused improvement.
If the project includes a patio, review Kelly Masonry’s patio installation services alongside the lighting plan. If the design includes a covered sitting or dining area, compare the lighting concept with the company’s pergola services. The goal is not to add links or features for their own sake. It is to coordinate the parts that will share the same space.
Create a Landscape Lighting Plan You Will Enjoy After Dark
The strongest landscape lighting ideas are usually the most property-specific. They clarify arrival and movement, reveal the character of brick, stone, trees, and planting, make outdoor rooms comfortable, and leave enough darkness for the illuminated features to have meaning.
For Main Line homeowners, the next step is to evaluate the property at night and decide what should be useful, what should be beautiful, and what should remain quiet. Kelly Masonry designs, installs, and repairs landscape lighting projects in Main Line, PA. Contact Kelly Masonry to discuss a lighting plan that fits your home, hardscape, landscape, and outdoor-living goals.
Frequently Asked Questions
How do I choose landscape lighting for a patio?
Start with how the patio is used. Identify the dining, cooking, seating, step, and circulation areas, then use separate layers for practical tasks and ambiance. Avoid placing bright sources where people will see them directly from the table or lounge seating.
What is the best color temperature for landscape lighting?
There is no single color temperature that is best for every property. Warmer light is often comfortable around masonry, planting, and seating, but the final selection should consider the fixture, home’s exterior, landscape colors, viewing distance, manufacturer guidance, and the desired atmosphere. DarkSky generally encourages warmer-color lighting as part of responsible outdoor-lighting design.
Should every path have lights?
No. The goal is to make important routes, steps, turns, and changes in grade understandable, not to outline every edge with identical fixtures. A selective plan usually creates more visual depth and avoids the runway effect.
Is landscape lighting worth considering for an older Main Line home?
It can be, especially when the lighting is designed around the property’s existing architecture, masonry, mature trees, and approach. The value is not automatic and should not be reduced to a guaranteed resale claim. The practical question is whether the lighting will improve how you arrive, move, entertain, and view the property after dark.
Can lighting be added after a patio or walkway is installed?
Often, yes, but the installation must respond to the finished surface, access, drainage, existing utilities, and available wiring routes. Planning lighting before hardscape is complete usually offers more flexibility, while an existing property may require a more careful retrofit approach.